Forget the 50-item checklists designed to make you spend. The key to a successful first camping trip isn’t accumulating more gear; it’s a strategic process of elimination. By embracing a minimalist mindset, you avoid the stress of a cluttered campsite, prevent needless spending, and focus on the actual experience of being outdoors. This guide isn’t about what to buy—it’s about the freedom you gain from what you choose to leave at home.
The internet is littered with « ultimate » packing lists for first-time campers. They are monuments to consumerism, presenting a daunting wall of 50, 70, or even 100 « essential » items. For a beginner on a budget, the message is clear and demoralizing: camping is an expensive sport that requires a massive upfront investment in specialized gear. This initial excitement quickly curdles into anxiety. What if I forget something? What if I buy the wrong thing? The result is often a car packed to the roof with gear that never leaves the trunk and a campsite that feels more like a chaotic storage unit than a peaceful retreat.
This approach is fundamentally broken. It’s rooted in a « just in case » fear that serves retailers, not campers. But what if the secret to a great first trip wasn’t about having everything, but about having exactly what you need and nothing more? This guide rejects the endless checklist. Instead, it offers a philosophy—a direct, economical, and anti-consumption framework for your first adventure. We will build your confidence not by adding items to a shopping cart, but by giving you the permission and the logic to subtract them. We’ll focus on a handful of truly essential, multi-use items and the mindset required to identify and eliminate the rest.
This article provides a structured path to becoming a minimalist camper from day one. We’ll explore why overpacking creates stress, how to perform a simple gear audit, and when it’s smarter to rent than to buy. By the end, you’ll have a clear, concise list of what you actually need and the confidence to ignore the noise.
Summary: Your Guide to a Minimalist First Camping Trip
- Why overpacking leads to a cluttered and stressful campsite?
- How to audit your gear weight before leaving the house?
- The « just in case » items that stay in the trunk 99% of the time
- Renting vs Buying: When is it smarter to borrow a tent?
- How to organize gear into modular bins for quick access?
- Why carrying over 15kg leads to knee injury on day 2?
- Saw vs Scissors: Which tool is actually useful for bushcraft?
- How to Reduce Pack Weight by 20% without Sacrificing Safety?
Why overpacking leads to a cluttered and stressful campsite?
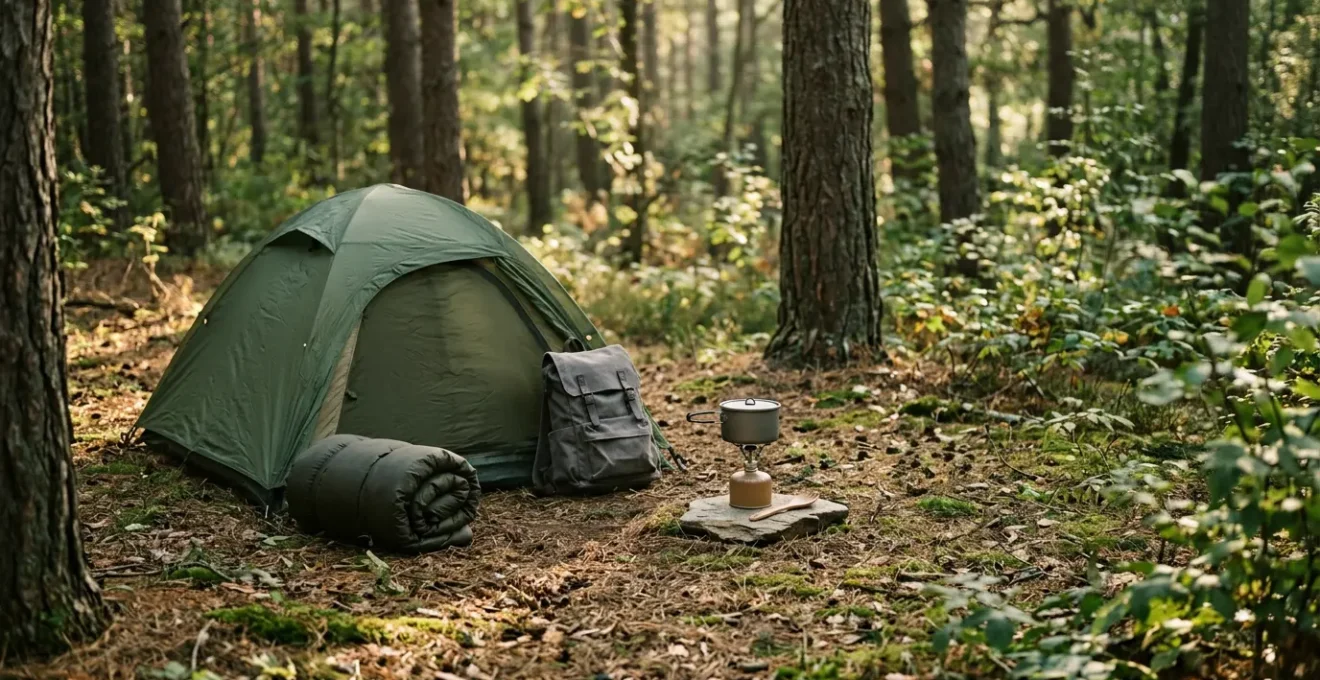
The myth sold to first-time car campers is that weight and volume don’t matter. Your car has plenty of space, so why not bring it all? This logic ignores the hidden cost of clutter: stress. A campsite overflowing with gear is a stressful environment. Finding what you need becomes a frustrating scavenger hunt. Setup and breakdown times balloon from minutes to hours. Instead of relaxing by the fire, you’re constantly managing, organizing, and tripping over your mountain of possessions. This isn’t freedom; it’s bringing the chaos of a messy garage into the heart of nature.
This « weight doesn’t matter » fallacy creates bad habits from the start. True camping freedom comes from efficiency and simplicity. It’s about having a system where every item has a purpose and a place. The less you bring, the less you have to manage. The less you manage, the more time you have to actually enjoy your surroundings. The mental clarity of a clean, organized campsite is a benefit that far outweighs the false security of a dozen « just in case » items you’ll never use. This minimalist approach is not just for backpackers; it’s a universal principle for a better outdoor experience.
The entire outdoor industry is slowly learning this lesson. While it may seem counterintuitive, gear is getting lighter and more minimalist across the board. In some sectors, there’s been an average 20% weight reduction in ultralight backpacking equipment since 2015. This trend reflects a shift in philosophy: experience over excess. As a new camper, you can skip the learning curve and adopt this smarter, more efficient mindset from day one. Don’t think about what you *can* bring; think about what you can unapologetically leave behind.
Ultimately, a minimalist campsite allows your mind to relax, fostering the very peace and quiet you sought when you decided to go camping in the first place.
How to audit your gear weight before leaving the house?
The most powerful tool in a minimalist camper’s arsenal isn’t a piece of gear; it’s a process. The Gear Audit is the simple act of weighing every single item you intend to pack. This may sound extreme, but it’s the single most effective way to shift your mindset from « what if I need this? » to « is this item worth its weight? » The goal isn’t to become an obsessive ounce-counter, but to make conscious, informed decisions rather than packing on autopilot. You don’t need a fancy scale; a simple digital kitchen scale is perfect for the job.
This process transforms abstract weight into tangible data. When you see that your « small » camp chair weighs 5 pounds or that your collection of « essential » kitchen gadgets adds up to 10, you start to question their value. The audit forces you to confront the reality of your packing habits. Create a simple spreadsheet or use a notebook. List each item and its weight. The total will likely shock you, and that shock is the catalyst for change. It provides objective data to fight the emotional urge to pack for every conceivable disaster.
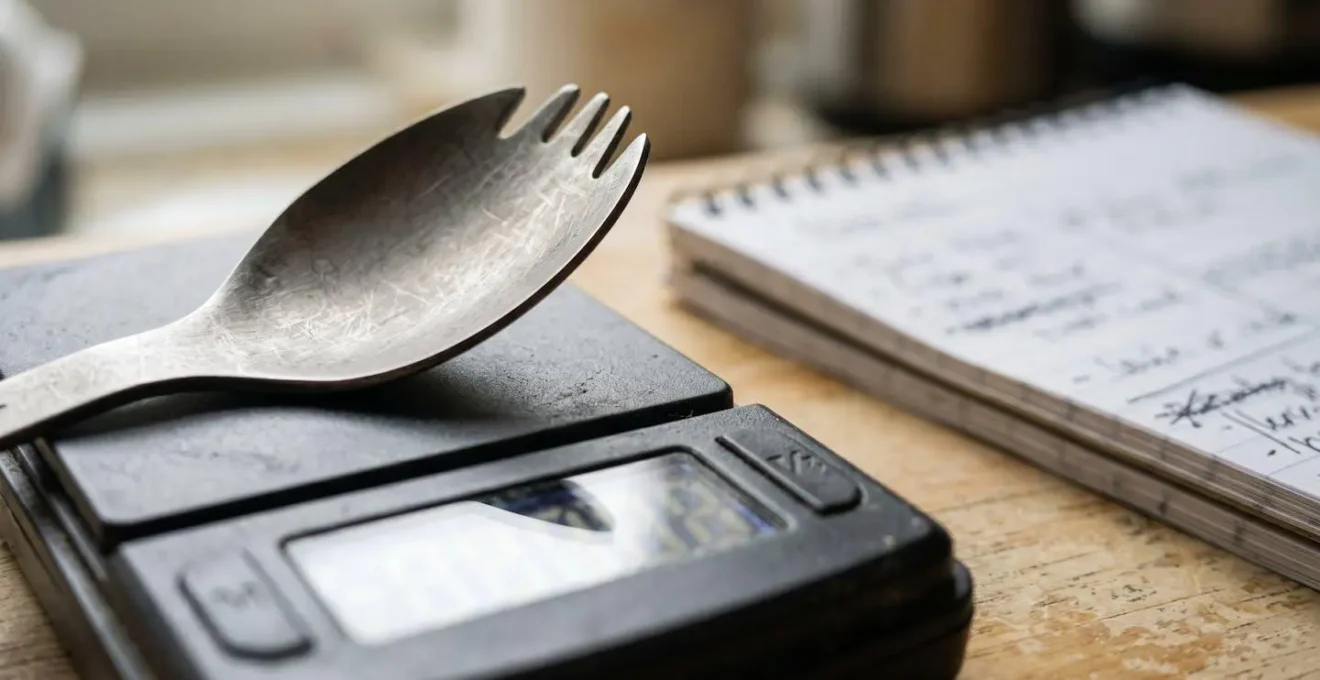
As the photo above illustrates, the process is simple and methodical. An experienced backpacker, for example, might refine their gear over years to achieve a sub-10-pound base weight by systematically weighing everything. For a beginner, the goal isn’t such an extreme number. The goal is awareness. The audit is your first line of defense against the clutter that ruins a first camping experience. It’s the practical step that turns the philosophy of minimalism into a concrete action plan, allowing you to see exactly where the « weight penalty » is coming from and start making strategic cuts.
Start today. Pull out your gear, grab your kitchen scale, and face the numbers. It’s the most important step you’ll take towards a better, less stressful camping trip.
The « just in case » items that stay in the trunk 99% of the time
The « Just in Case » Trap is the number one enemy of a first-time camper. It’s the voice of anxiety that convinces you to pack a full-sized axe for a campground with a fire ban, or three different jackets for a sunny weekend forecast. These items are emotional security blankets, not practical tools. They clog up your car, clutter your campsite, and add mental and physical weight to your trip. The first step to disarming this trap is to identify the most common offenders—the items that seem like a good idea at home but are almost never used in reality.
Think about your planned activities. Are you cooking simple one-pot meals? Then you don’t need a cast iron skillet, three pots, and a full set of utensils. A single titanium or aluminum pot, a spork, and a good knife are sufficient. Are you staying at a designated campsite with a picnic table? Then you can probably leave the heavy, oversized camp chairs and folding table at home in favor of a simple, lightweight sit pad. That alone can save you 10-20 pounds and a significant amount of packing space.
Other common culprits include excessive bedding (a sleeping bag rated for the temperature is enough; you don’t need three extra blankets), a full multi-tool set when a simple knife and scissors will do, and extra tarps beyond the one you might use for rain. The key is to pack for the most likely scenario, not the 1% chance of a freak blizzard in July. For true emergencies, you should have a small, dedicated first-aid and safety kit—not a trunk full of redundant, heavy « survival » gear. Challenge every item: did I use this last time? Is there a lighter or multi-use alternative? Be ruthless. Every item left behind is a victory for simplicity.
Your goal is to pack with intention and confidence, not out of fear. A lighter pack doesn’t mean you’re unprepared; it means you’re smart.
Renting vs Buying: When is it smarter to borrow a tent?
For a first-time camper, the single largest and most intimidating purchase is the tent. A decent tent can cost hundreds of dollars, a significant investment when you’re not even sure if you’ll enjoy the activity. The consumer-driven advice is to buy an « entry-level » model, but this is often a false economy. A cheap tent may be poorly made, leak in the rain, and lead to a miserable experience that puts you off camping for life. This is where you must think like an economist, not a consumer. The smartest first step is often to not buy a tent at all.
Renting gear from an outdoor retailer like REI or a local shop is a brilliant strategy. It allows you to try high-quality, well-maintained equipment for a fraction of the purchase price. You get the benefit of a $400 tent’s performance without the commitment. This lets you discover what features you actually like and need. Do you prefer a tent you can stand up in? Do you need a large vestibule for gear? Renting is market research where the product is your own comfort. A recent analysis shows that if you take fewer than 2-4 camping trips per year, renting is almost always the smarter financial move.
Borrowing from a friend is even better. But if you do decide to rent, the financial break-even point is a crucial calculation. The goal is to avoid a large capital outlay until you are a committed camper who knows exactly what they want. By renting for your first few trips, you make a small, smart investment in your own education, which will prevent a large, foolish purchase later.
This table breaks down the typical financial decision, based on current market rental and purchase costs. It clearly shows that for occasional use, ownership is a financial liability, not an asset.
| Tent Type | Rental Cost (per weekend) | Purchase Cost (entry-level) | Break-Even Point | Best For |
|---|---|---|---|---|
| Small 1-2 Person Backpacking | $30-50 | $200-300 | 5-6 trips | First-time testers |
| 3-6 Person Car Camping | $40-80 | $120-400 | 3-5 trips | Occasional campers |
| Family Cabin Tent (8-12) | $100-150 | $250-700 | 3-5 trips | Frequent family groups |
Delaying the purchase is the most strategic move a beginner can make. It saves you money, reduces decision fatigue, and ensures that when you finally do buy, it will be the right piece of gear for you.
How to organize gear into modular bins for quick access?
Minimalism isn’t just about owning less; it’s about flawlessly organizing what you own. The ultimate car camping organization system is the « modular bin » method. This approach rejects the « throw it all in the trunk » chaos in favor of a disciplined, grab-and-go system. The concept is simple: instead of one giant, disorganized pile of gear, you create several self-contained, clearly-labeled kits based on activity. This turns your car into a well-ordered gear library, not a junk drawer. The stress of finding the headlamp or the salt disappears completely.
Start by acquiring three or four durable, stackable plastic bins. Clear bins are ideal because they allow you to see the contents at a glance. Now, categorize all your gear into logical groups. For example:
- The Kitchen Bin: Stove, fuel, pot, spork, knife, lighter, soap, sponge, and coffee supplies.
- The Shelter/Sleep Bin: Tent, sleeping bags, sleeping pads, pillows. (This may be a duffel bag instead of a bin).
- The « Campsite » Bin: Headlamps, lanterns, camp chairs, small tarp, cordage, first-aid kit.
This system’s beauty is its scalability and efficiency. Going for a quick evening picnic? Just grab the kitchen bin. Heading out for a full weekend? Grab all three. Each bin is a self-sufficient module. When you arrive at camp, you simply move the bins to the picnic table, and you’re 90% set up. No more frantic digging through a dozen duffel bags to find one small item. It’s the most effective way to reduce setup time and keep your campsite permanently organized and stress-free.
Action Plan: Auditing Your Camping « Brand »
- Points of contact: List every interaction point with your gear, from packing the car to cooking a meal.
- Collecte: Inventory your existing gear and weigh each item. Be specific (e.g., « MSR PocketRocket 2 Stove – 2.6 oz »).
- Cohérence: Confront your inventory with your minimalist goal. Does a 5-pound cast iron pan align with a « light and fast » value?
- Mémorabilité/émotion: Identify what makes your kit uniquely smart vs. generic. Is it a clever multi-use item or just what the store recommended?
- Plan d’intégration: Create a priority list of heavy, single-use items to replace with lighter, multi-purpose alternatives.
This discipline at home is what creates effortless relaxation at the campsite. It’s the physical manifestation of the minimalist mindset.
Why carrying over 15kg leads to knee injury on day 2?
Even if you’re « just » car camping, you’re still going to be carrying your gear—from the car to the campsite, on a short walk to a viewpoint, or on a day hike from your basecamp. Many beginners underestimate the brutal physical toll that even a moderately heavy pack (15kg / ~33lbs or more) can exert on an unconditioned body, particularly the knees. The physics are unforgiving: with every step you take, especially downhill, the force transmitted through your knee joint can be several times your body weight. Add a heavy pack, and you’re multiplying that force exponentially.
This isn’t about being an elite athlete; it’s about basic biomechanics. Your muscles, tendons, and ligaments act as shock absorbers. If they aren’t accustomed to the load, they fatigue quickly. Once your stabilizing muscles (like quadriceps and glutes) are tired, the stress is transferred directly to your joints and cartilage. For a beginner, this breakdown can happen within hours. The excitement of day one gives way to the aching, sharp pain of day two. A potential new hobby is cut short by a preventable injury simply because you tried to carry too much.
This isn’t just anecdotal. The link between pack weight and injury is well-documented. A 2022 study confirmed that a greater backpack weight to body weight ratio is significantly associated with musculoskeletal injuries in hikers. Your body doesn’t differentiate between a « car camping » pack and a « backpacking » pack; it only feels the load. Keeping your pack weight below 15kg, and ideally closer to 10kg, isn’t a suggestion for comfort—it’s a critical safety measure to protect your body and ensure you can actually enjoy your entire trip, not just the first few hours.
Think of every pound you shed from your pack as a direct investment in your physical well-being and the longevity of your camping career.
Saw vs Scissors: Which tool is actually useful for bushcraft?
The image of a camper often includes a rugged knife and a hefty saw or axe, ready to tame the wilderness. This is a marketing fantasy. For the vast majority of first-time campers in designated parks and campgrounds, a large saw or hatchet is not only overkill—it’s often illegal and a direct violation of Leave No Trace principles. Most campsites forbid the cutting of any wood, living or dead, to preserve the natural environment. So, what tool is actually useful?
The surprising, humble, and infinitely more practical answer is a good pair of scissors. Think about the actual tasks you perform at a campsite: opening stubborn food packaging, trimming a bandage or piece of moleskin for a blister, cutting a length of cordage to create a clothesline, or repairing a piece of gear with duct tape. A saw is useless for every single one of these common jobs. A small, sharp pair of scissors, on the other hand, excels at them. They are a tool for finesse and problem-solving, not brute force.
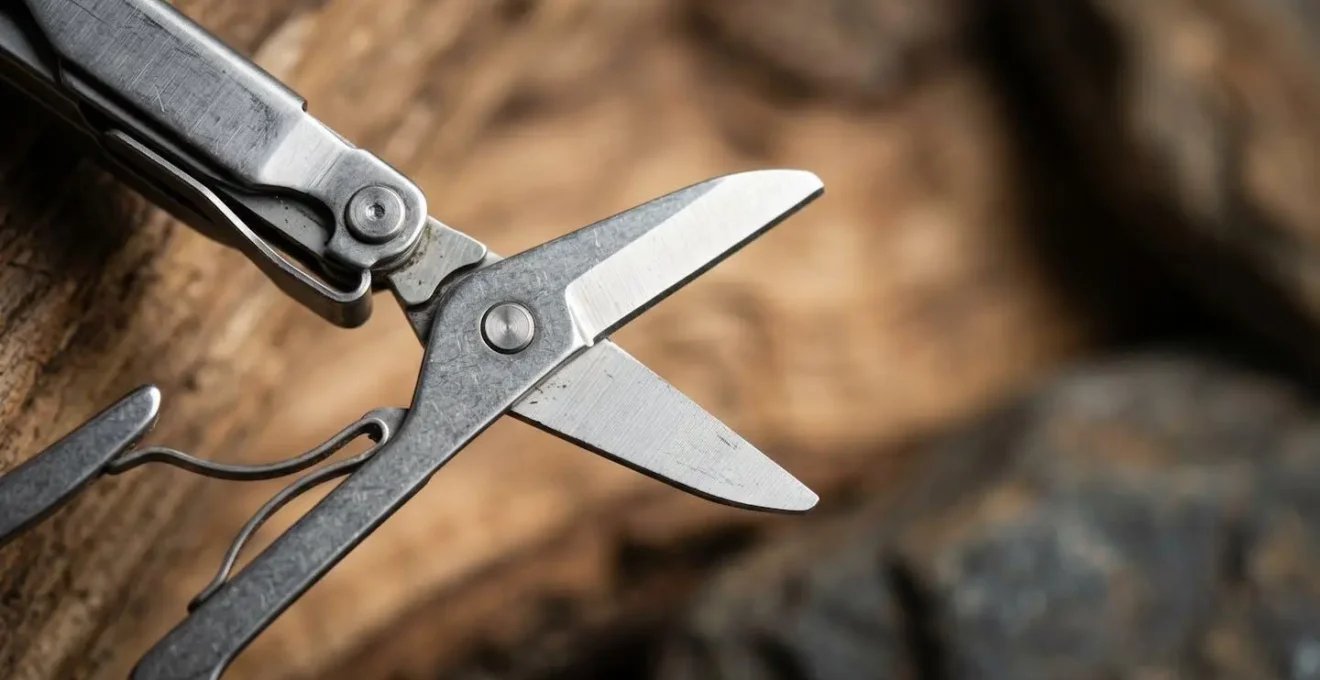
The best solution is to carry a quality multi-tool that includes a good pair of scissors and a small knife blade. This single item replaces a half-dozen other tools, saving significant weight and space. It perfectly embodies the minimalist, multi-use mindset. The decision to pack scissors instead of a saw is a powerful symbolic choice. It represents a shift from a mindset of « conquering » nature to one of « living smartly » within it. It’s about choosing the right, precise tool for the job you will actually be doing, not the one you imagine in a survival movie.
The following table provides a task-based score that clearly demonstrates the superior utility of scissors for the average camper’s needs.
| Camp Task | Saw Score (0-10) | Scissors Score (0-10) | Notes |
|---|---|---|---|
| Fire Preparation | 10 | 1 | Saws excel at cutting wood, but often prohibited in regulated parks |
| Food Preparation | 0 | 8 | Scissors can open packages, trim food items |
| First Aid Applications | 0 | 9 | Scissors essential for cutting bandages, tape, moleskin |
| Gear Repair | 0 | 9 | Scissors can trim cord, cut fabric patches, repair tasks |
| Leave No Trace Compliance | 2 | 10 | Cutting live/dead wood often forbidden; scissors align with LNT principles |
Ditch the heavy, impractical saw. Embrace the humble and vastly more useful scissors. Your pack and your campsite will thank you.
Key takeaways
- Embrace Subtraction: The goal is not to buy more gear, but to strategically eliminate everything but the essentials.
- Audit Everything: Weighing your gear is the most powerful way to make conscious packing decisions and fight the « just in case » urge.
- Rent Before You Buy: Avoid expensive mistakes by renting or borrowing major items like tents until you know what you truly need.
How to Reduce Pack Weight by 20% without Sacrificing Safety?
Reducing pack weight isn’t about leaving crucial safety items at home. It’s about making smarter choices with the items you do bring. The fastest way to shed significant weight is to focus on the « Big Three »: your shelter, your sleeping system (bag and pad), and your backpack. These three categories often account for up to 70% of your total base weight. If you’re renting, intentionally choose a lightweight tent and bag. If you’ve already bought them, this is still a crucial area to analyze for future upgrades once you’re a more experienced camper.
Beyond the Big Three, the next frontier for weight savings is adopting a multi-use mindset and « shopping your home. » Many specialized, expensive « camping » items have lighter, cheaper, and more effective counterparts already in your house. This is the most empowering, anti-consumerist tactic for any beginner. You don’t need to go to an outdoor store; you need to go to your kitchen pantry and recycling bin. This is where you can easily trim 20% or more from your pack weight without spending a single dollar.
For example, ditch the heavy, bulky Nalgene bottle for an empty Smartwater bottle—it’s a fraction of the weight and the thread fits most common water filters. Instead of a dedicated camp bowl, use a lightweight plastic takeout container. Repackage all your food from its bulky commercial packaging into simple, lightweight plastic bags. Every one of these small swaps adds up to significant weight savings. It’s a game of inches, and it’s a game you can win before you ever leave your house.
Here is a practical list of swaps you can make today to immediately lighten your load:
- Replace a heavy camp bowl with a lightweight plastic takeout container (saves 4-6 oz).
- Swap a Nalgene bottle for Smartwater bottles, which are lighter and collapsible when empty.
- Use small travel-size bottles for toothpaste and sunscreen instead of full-size versions.
- Pack food in simple lightweight plastic bags rather than original packaging.
- Eliminate individual stuff sacks; pack gear directly into your backpack to save ounces.
- Use your cooking pot as your bowl and mug to eliminate duplicate dishware.
Start applying these principles now. Your back, your wallet, and your overall enjoyment of the outdoors depend on this shift from a consumer mindset to a resourceful one.