For international travel in high-risk environments, a standard water filter is dangerously insufficient; only a purifier or a multi-stage system provides reliable protection against viruses.
- Most backcountry filters have pores too large to block viruses like Norovirus, creating a false sense of security.
- Human error, such as cross-contamination from dirty hands, is a primary vector for illness even with treated water.
Recommendation: Adopt a redundant system. Either use a dedicated purifier with a sub-0.1 micron pore size, or combine your primary filter with a secondary chemical (chlorine dioxide) or UV treatment to neutralize viral threats.
The promise of adventure in remote, exotic landscapes is often accompanied by a critical, unspoken risk: contaminated water. For many international travelers, the default solution is a lightweight backcountry water filter. It’s a trusted piece of gear, effective against the common bacterial and protozoan threats found in North American wilderness. However, this reliance creates a dangerous blind spot when venturing into developing countries or areas with significant human or animal water contamination.
The conversation around water treatment often simplifies into a basic « filter vs. purifier » debate, listing the types of pathogens each removes. This is a dangerously incomplete picture. The real challenge isn’t just picking a device; it’s understanding the specific failure points of your entire hydration protocol. Viruses are a game-changer, but so are silt-clogged systems, freezing temperatures, and the simple, devastating mistake of touching a clean bottle with dirty hands. True water safety is not about a single tool, but about building a resilient, multi-layered defense system.
This guide moves beyond generic advice. We will dissect the scientific reasons standard filters fail, analyze the operational advantages of different systems for groups, and reveal the hidden contamination vectors that defeat even the best hardware. By understanding these mechanisms of failure, you will learn to build a truly robust purification strategy that makes waterborne illness a calculated non-issue on your next global adventure.
To navigate this critical subject, this guide is structured to address the most pressing questions and common failure points. The following sections provide a comprehensive framework for understanding and implementing a truly effective water purification strategy in high-risk environments.
Summary: Filter vs. Purifier: The Ultimate Guide to Virus-Proof Water in High-Risk Environments
- Why 0.1 micron filters fail to stop Norovirus?
- How to pre-filter turbid water to save your pump from clogging?
- The « dirty hands » mistake that re-contaminates clean water instantly
- Pump vs Gravity: Which system hydrates 4 people faster?
- When to use chlorine dioxide tablets instead of UV light?
- How to read a topographical map to find water sources?
- The sanitation mistake that ruins local ecosystems in 24 hours
- Canister vs Liquid Fuel: Which Stove Won’t Fail at -5°C?
Why 0.1 micron filters fail to stop Norovirus?
The fundamental distinction between a water filter and a water purifier lies in their ability to handle viruses. This is not a matter of marketing, but of physics. Most standard backcountry filters, like the popular Sawyer Squeeze or Katadyn BeFree, feature a pore size of 0.1 to 0.2 microns. This is perfectly adequate for physically blocking larger microorganisms like bacteria (e.g., E. coli, Salmonella) and protozoa (e.g., Giardia, Cryptosporidium). However, it is critically insufficient for viral threats.
Viruses are orders of magnitude smaller. For instance, research shows that Norovirus and Rotavirus measure between 0.027 and 0.070 microns, allowing them to pass directly through the hollow fiber membrane of a standard filter. This creates a dangerous false sense of security for travelers in regions where water sources may be contaminated with human waste, the primary source of viral pathogens. Relying on a 0.1-micron filter in such an environment is the equivalent of trying to stop a mosquito with a chain-link fence.
A true purifier addresses this by using a much smaller pore size or a different mechanism entirely. They are specifically engineered to remove or inactivate viruses, providing comprehensive protection against all three classes of waterborne pathogens.
Case Study: The MSR Guardian Purifier’s Viral Defense
To solve the virus problem mechanically, a purifier must have a significantly smaller pore size. The MSR Guardian Purifier, for example, utilizes advanced hollow fibers with a pore size of 0.02 microns. This is small enough to physically block even the smallest waterborne viruses. Field testing by sources like OutdoorGearLab over seven years has consistently demonstrated its effectiveness in international travel and high-risk scenarios, confirming its ability to remove pathogens that standard microfilters cannot catch. This technology represents the frontline of mechanical purification, offering viral protection without the use of chemicals or batteries.
How to pre-filter turbid water to save your pump from clogging?
Even the most advanced purifier is rendered useless if it’s clogged with silt, glacial flour, or organic debris. High turbidity (cloudy water) is a mechanical enemy that drastically reduces flow rates and can permanently damage delicate hollow fiber or ceramic filter elements. The primary goal of pre-filtering is not to purify the water, but to remove these larger suspended particles before they reach your main system, thereby preserving its lifespan and performance.
A simple, field-effective method is to use a piece of cloth as a coarse filter. A bandana, buff, or a small square of cotton fabric can be placed over the intake hose of a pump or the opening of a gravity bag. As you collect water, the fabric will trap the majority of the visible sediment. For very fine, silty water, you can let the water sit in a bucket or pot for 30-60 minutes, allowing the heavier sediment to settle at the bottom before carefully decanting the clearer water off the top.
This preliminary step is a non-negotiable part of a robust water treatment protocol in many environments, especially those with fast-moving rivers, glacial melt, or heavy rainfall. It adds only minutes to your workflow but can add years to the life of your filter. Ignoring turbidity is a common beginner mistake that often leads to system failure at the worst possible time. A clogged filter in a remote area is not an inconvenience; it’s a serious safety issue.
The « dirty hands » mistake that re-contaminates clean water instantly
The most sophisticated purification system in the world can be defeated by a single, careless touch. One of the most overlooked contamination vectors is not the water source, but the user’s own hands. After treating water, a common and disastrous mistake is handling the « clean » end of the system—the outlet hose or the threads of a clean water bottle—with hands that have been in contact with the « dirty » source water or other contaminants.
This act of cross-contamination instantly transfers pathogens from your hands to the purified water path, completely negating the filtration or purification process. As noted by experts at The Hiking Life, personal hygiene failures are a massive source of illness in the backcountry. This is why establishing a strict « clean vs. dirty » protocol is paramount. Designate one hand for handling the dirty reservoir and intake, and the other for the clean reservoir and outlet. Never let them mix roles without thorough washing with soap or hand sanitizer.
More hikers get sick from sharing food or not cleaning their hands properly than they do from not purifying their water.
– The Hiking Life, Water Purification Guide
Pay special attention to the threads on your water bottles and reservoirs. This area is a prime breeding ground for bacteria and a critical point for cross-contamination. Always ensure the threads of your clean bottle are protected from any contact with untreated water or unwashed hands.
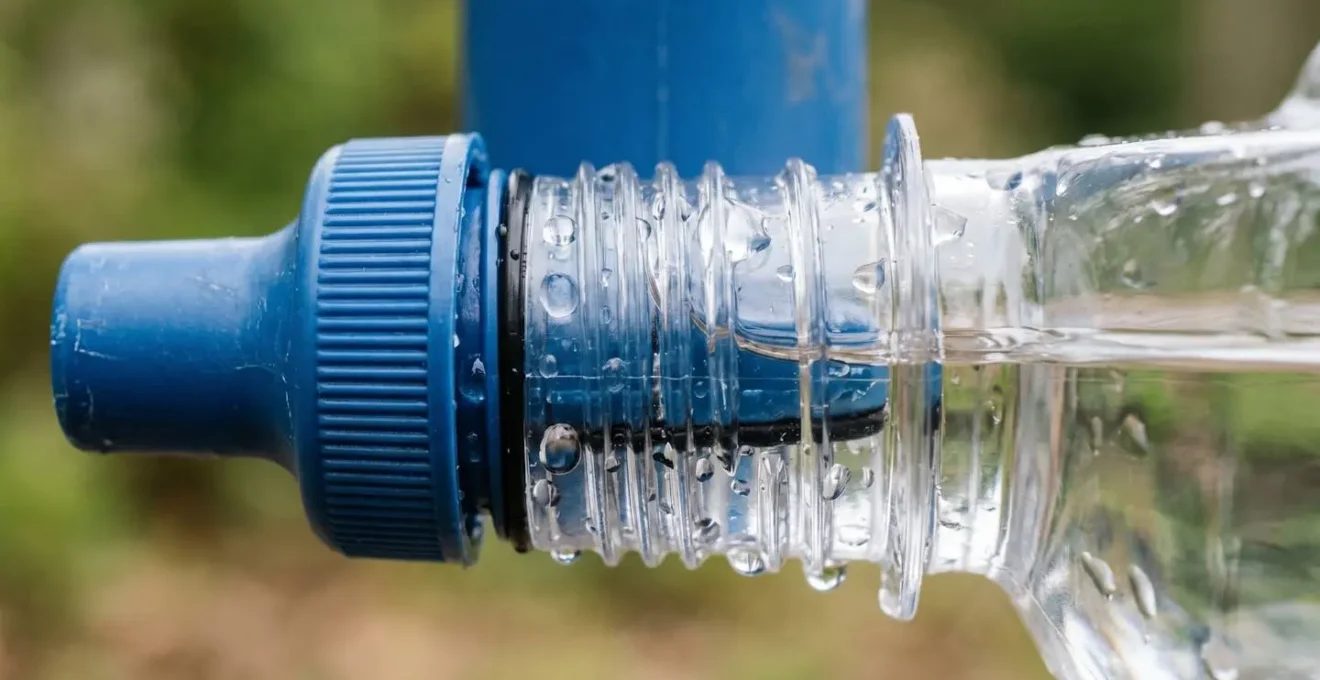
This macro view highlights the critical interface where pathogens can be transferred. Every drop of water that passes over contaminated threads will pick up microbes, re-infecting your safe drinking supply. Maintaining discipline in your handling procedure is just as important as the technology of the purifier itself.
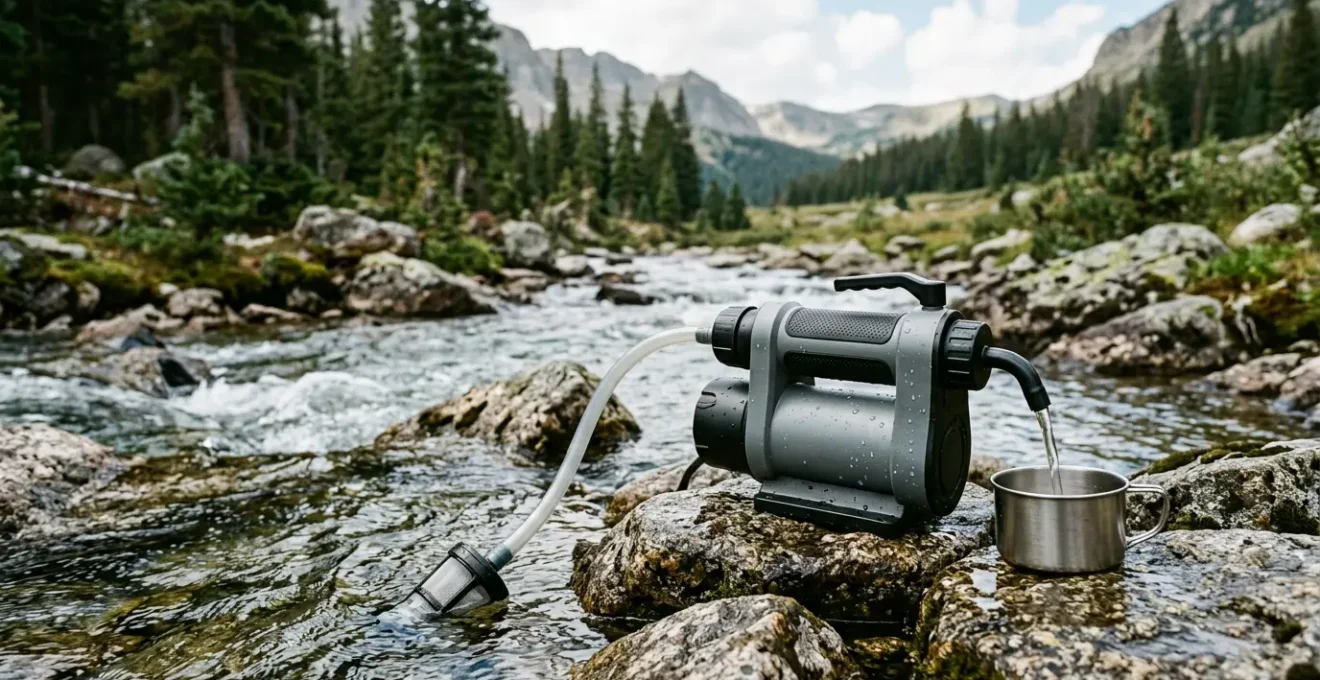
Pump vs Gravity: Which system hydrates 4 people faster?
When treating water for a solo hiker, the efficiency difference between a pump and a gravity system may seem minor. However, when providing hydration for a group of four or more, the workflow dynamics change dramatically, and a gravity system demonstrates superior efficiency. While a pump filter requires constant, active labor from one person, a gravity system works passively in the background, freeing up the entire group for other essential camp chores.
The core advantage is parallel processing. A high-capacity gravity system, like the Platypus GravityWorks, can be filled with several liters of water and hung from a tree. It will then filter this entire volume without further human intervention. Data from field tests confirms this efficiency; for example, testing has demonstrated that the Platypus GravityWorks filters 4 liters in under 5 minutes with a flow rate of 1.75 liters per minute, all while you are setting up your tent or preparing a meal. A pump system, by contrast, would require about 4-5 minutes of continuous, focused pumping by one individual to produce the same amount.
This « force-multiplier » effect is not just about saving time; it’s about optimizing the group’s energy and morale. Instead of creating a bottleneck where people wait for water, a gravity system establishes a continuous, low-effort supply.
Case Study: The Group Efficiency of Gravity Filtration
In a real-world test conducted by CleverHiker analyst Heather Eldridge during a family backpacking trip in Oregon’s Eagle Cap Wilderness, the value of a gravity system for a group of five became clear. The Platypus GravityWorks allowed the group to process multiple liters of water simultaneously while they were occupied with other tasks like setting up camp. This streamlined workflow significantly reduced the total « time-to-hydration » for the entire party, resulting in more time for hiking and enjoying the wilderness together. It proved that for groups, the best system is one that works for you, not one that you work for.
When to use chlorine dioxide tablets instead of UV light?
Both chlorine dioxide tablets and UV (ultraviolet) light purifiers, like a SteriPen, are effective against viruses, making them excellent choices for a secondary treatment or as standalone purifiers for clear water. However, their effectiveness is highly situational, and choosing the right one depends on environmental conditions. Chlorine dioxide holds a distinct advantage in two common backcountry scenarios: cold temperatures and turbid water.
UV purifiers rely on batteries, and their performance degrades significantly in freezing or near-freezing conditions. Furthermore, their efficacy depends on light penetrating the water to scramble the DNA of pathogens. As field experience confirms that UV light does not work well in cloudy water, any suspended particles of silt, tea-staining tannins, or other debris can create « shadows » that shield viruses and bacteria from the UV rays, rendering the treatment incomplete. For this reason, UV light should only ever be used in perfectly clear water.
Chlorine dioxide, being a chemical agent, is not affected by battery life and remains effective in cold temperatures, although its contact time needs to be extended. It works by chemically destroying pathogens, a process that is not impeded by turbidity in the same way as UV light. This makes chemical treatment a far more reliable option when dealing with murky or extremely cold water sources.
Action Plan: Chemical Treatment Optimization Protocol
- Wait 30 minutes for chlorine dioxide to kill Giardia, bacteria, and viruses in normal water conditions.
- Extend the wait time to a full 4 hours for complete effectiveness against Cryptosporidium, the most resilient hard-shelled parasite.
- Double the required wait time when treating very cold water (below 50°F / 10°C) or water that is particularly cloudy.
- Neutralize any residual chemical taste by adding a tiny pinch of Vitamin C powder (ascorbic acid) *after* the full contact time has elapsed.
- Always carry chlorine dioxide tablets as an essential backup, regardless of your primary system, for their zero mechanical failure points and full viral protection.
How to read a topographical map to find water sources?
Long before you see or hear water, your topographical map can tell you exactly where to find it. The ability to read terrain and identify likely water sources is a fundamental skill for route planning and a critical safety net in the backcountry. The key is to understand how water behaves in relation to elevation, which is represented by the map’s contour lines.
The most obvious indicators are the solid or dashed blue lines that represent perennial (year-round) or intermittent (seasonal) streams and rivers. These are your most reliable targets. However, in drier terrain, you need to look for more subtle clues. Water flows downhill, perpendicular to contour lines. Look for places where contour lines form a sharp « V » shape. The point of the « V » always points uphill, and the bottom of this drainage, or gully, is a natural channel for water, even if it’s not marked with a blue line.

As this map detail shows, closely-packed contour lines indicate steep terrain, where you might find waterfalls or fast-flowing creeks. Widely spaced lines suggest flatter ground, where you might find marshes, ponds, or meandering streams. Look for depressions, indicated by circular contour lines with hachure marks pointing inward, which may hold lakes or ponds. Springs are often marked with a specific symbol, but can also be inferred at the head of a drainage where a blue line suddenly begins. This skill transforms your map from a simple navigator to a powerful resource-finding tool.
The sanitation mistake that ruins local ecosystems in 24 hours
While personal health is a primary concern, a responsible traveler’s duty extends to protecting the health of the ecosystems they visit. A common and destructive mistake is improper disposal of « greywater »—the water used for washing dishes, clothes, or oneself. This water, even when used with biodegradable soap, contains food particles, oils, and chemical surfactants that are pollutants. Dumping greywater directly into a lake or stream can trigger an algal bloom and disrupt the local aquatic food web within hours.
The core principle of Leave No Trace (LNT) is to isolate your impact from water sources. As emphasized by REI’s experts, all sanitation activities must occur far from any body of water. This creates a buffer that allows the soil to act as a natural filter, breaking down contaminants before they can reach the fragile aquatic environment.
Keep camp, toilet and dishwashing areas at least 200 feet from any water source.
– REI Expert Advice, How to Choose a Water Filter or Purifier
To adhere to this critical protocol, you must adopt a systematic approach to all washing activities. This isn’t just about « being clean, » it’s about preventing a small camp from having a large, lasting negative impact. Follow these LNT guidelines for greywater disposal:
- Carry all wash water at least 200 feet (about 70 adult steps) away from any lake, river, or stream before disposal.
- Use a collapsible bucket or a dedicated wash basin to contain soapy water. Never wash dishes or yourself directly in a natural water source.
- Dispose of greywater by broadcasting it widely over the ground. This dispersal maximizes soil contact and filtration, preventing a concentrated impact.
- Even if you use biodegradable soap, use it sparingly. It is still a foreign substance in a wild ecosystem.
Key Takeaways
- Standard 0.1-0.2 micron filters are ineffective against viruses; a purifier (0.02 micron) or secondary treatment is mandatory for high-risk areas.
- Human error, especially cross-contamination via hands on bottle threads, is a primary cause of sickness that defeats even the best hardware.
- A system’s effectiveness is situational: UV fails in cold/turbid water, while chemical treatment (chlorine dioxide) excels in these conditions but requires longer wait times.
Canister vs Liquid Fuel: Which Stove Won’t Fail at -5°C?
In a water purification context, a reliable stove is more than a convenience for cooking; it is your ultimate backup purification tool. The ability to bring water to a rolling boil is the most foolproof method of neutralizing all pathogens, including the hardiest viruses and parasites. However, not all stoves are created equal, especially when temperatures drop below freezing.
Standard isobutane-propane canister stoves, beloved for their convenience, begin to fail around -5°C (23°F). As the temperature drops, the pressure inside the canister decreases, drastically reducing fuel flow and making it nearly impossible to maintain a strong flame. In a survival situation where boiling water is necessary, this failure can be catastrophic. Liquid fuel stoves, which burn white gas, are the undisputed champions of cold-weather performance. They use a pump to manually pressurize the fuel bottle, a system that is completely independent of ambient temperature. This allows them to run reliably at full power in deep-freeze conditions where canister stoves would have long since failed.
Therefore, when choosing a stove for trips involving potential sub-zero temperatures, the decision impacts not just your ability to cook, but your ultimate water safety net. Having a stove that functions at -5°C means you always have access to the gold standard of water purification: boiling. According to CDC guidelines, bringing water to a rolling boil for just one minute (or three minutes at elevations above 6,500 feet / 2,000 meters) is sufficient to kill all germs. A liquid fuel stove guarantees you can meet this standard, no matter how cold it gets.
Building a truly resilient water purification system is about adopting a mindset of redundancy and situational awareness. It requires moving beyond brand loyalty and understanding the scientific principles and practical failure points of each method. By combining the right hardware with disciplined protocols, you can confidently explore the world’s most remote corners, knowing your health is protected. The next logical step is to assess your typical travel destinations and current gear to identify any gaps in your viral defense strategy.