The common belief that a multi-tool is a « master of none » is wrong; its true value is forcing a minimalist repair mindset that makes you more resourceful than a heavy toolbox ever could.
- A multi-tool isn’t a compromise on capability, but a catalyst for field ingenuity and adaptive repairs.
- Its design prioritizes what’s serviceable in the field (like softer steel you can sharpen) over high-spec features that are useless without a workshop.
Recommendation: Ditch the weight and dependency of a full kit. Adopt the one-tool rule to develop the single most important skill in the wild: creative problem-solving.
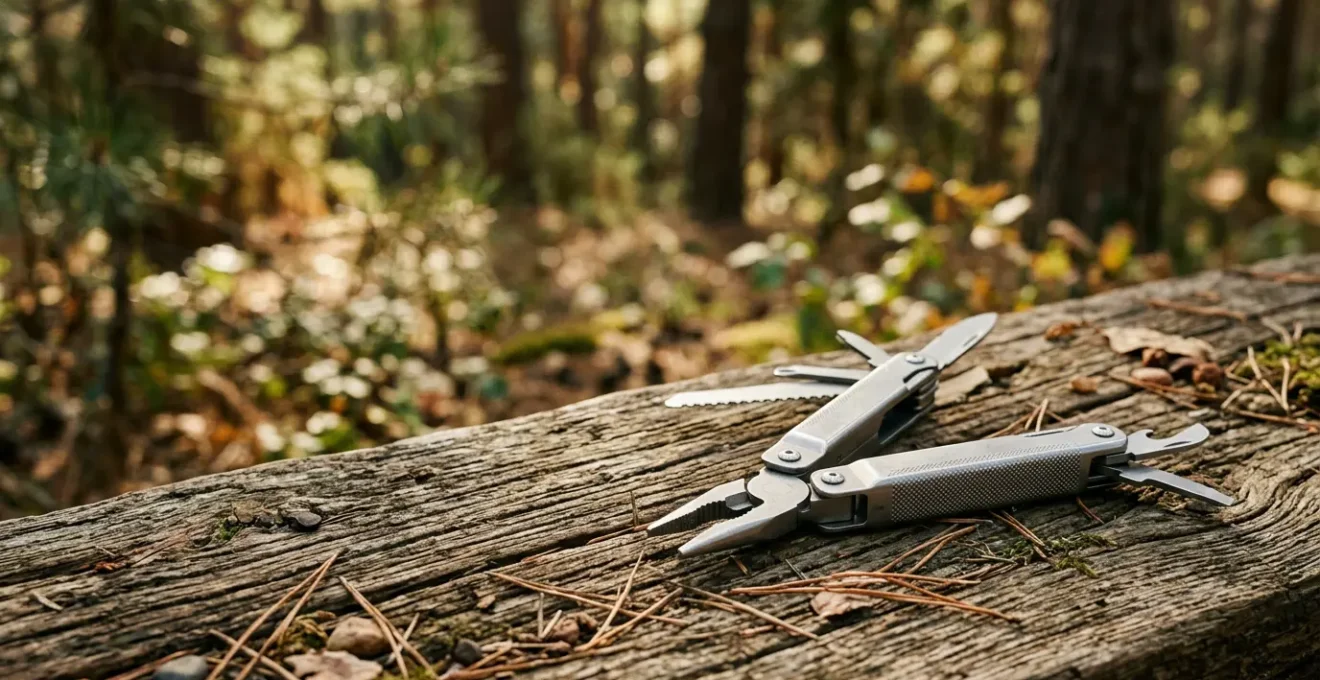
Every practical camper knows the pain. You’re packing for a trip, and the debate begins. Do you bring the full toolbox, « just in case »? The adjustable wrench, the socket set, the dedicated wire cutters? Soon, your pack is weighed down by a clanking collection of steel you probably won’t use, all for a vague sense of security. The common advice is to simply leave most of it at home and hope for the best. But this approach misses the point entirely.
The real solution isn’t just about reducing weight; it’s about fundamentally changing your approach to problems in the field. What if the key wasn’t having the perfect tool for every conceivable job, but having one versatile tool that forces you to become a better problem-solver? This is the core of the one-tool rule. It’s a philosophy built around a single, well-chosen multi-tool, not as a collection of compromised functions, but as a catalyst for ingenuity.
This article isn’t another list of multi-tool features. It’s a deep dive into the MacGyver-like mindset that turns you from a simple ‘tool user’ into a genuine ‘field repair specialist’. We’ll deconstruct the tool itself to understand its design philosophy, walk through real-world repairs that showcase adaptive thinking, and ultimately prove why embracing the limitations of one tool makes you infinitely more capable than carrying twenty.
To fully grasp this practical philosophy, we will explore the specific mechanics, techniques, and legal considerations that elevate the multi-tool from a simple gadget to an essential piece of field equipment. The following sections break down exactly how to leverage this single tool for maximum effect.
Summary: The One-Tool Rule: A Field Guide to Ingenuity
- Why soft steel blades dull after cutting one rope?
- How to use the pliers to repair a bent tent pole safely?
- The grit mistake that jams your blade locking mechanism
- Saw vs Scissors: Which tool is actually useful for bushcraft?
- When to leave the locking blade at home: Knife laws by country
- How to fix a tubeless puncture in the middle of nowhere?
- How to repair a valve leak in the field?
- First-Time Campers: The 10 Items You Actually Need (And What to Leave)?
Why soft steel blades dull after cutting one rope?
It’s a common complaint: you use your multi-tool’s blade for one tough job, like slicing through a thick synthetic rope, and suddenly it feels as sharp as a butter knife. The immediate assumption is that the steel is cheap or « soft. » But that’s a misunderstanding of the tool’s core philosophy. It’s not about being soft; it’s about being serviceable in the field. Manufacturers often use steels like 420HC, which have a specific, intentional balance of properties.
A high-end, super-hard « super steel » might hold an edge longer in a sterile environment, but it’s often brittle and nearly impossible to sharpen without specialized equipment. In the wild, that’s a liability. A blade that you can’t restore is a dead tool. In contrast, an analysis of multi-tool materials shows that a steel like 420HC steel rates at approximately 58 HRC on the Rockwell hardness scale. This rating provides a sweet spot: it’s hard enough for most camping tasks but soft enough to be re-honed on a simple pocket stone or even a smooth river rock.
This choice embodies the « repair mindset. » The tool is designed with the expectation that you, the user, will maintain it under imperfect conditions. A blade that dulls but can be brought back to life in five minutes is infinitely more useful than a razor-sharp blade that becomes a useless piece of metal after one unfortunate chip. It’s the first lesson in forced minimalism: prioritize what you can fix yourself over what claims to be unbreakable.
How to use the pliers to repair a bent tent pole safely?
A bent tent pole is a classic trip-ruiner. Your first instinct might be to bend it back over your knee or against a tree, but that’s the fastest way to snap a thin aluminum section. The needle-nose pliers on your multi-tool are the perfect instrument for this job, but only if you use them with precision and an understanding of metal fatigue. This is a surgical operation, not a brute-force one.
The secret is to avoid creating new stress points. Never clamp down on the center of the bend and heave. Instead, you need to make a series of small, progressive adjustments. To prevent the pliers’ teeth from marring or crushing the hollow pole, you must first cushion the jaws. A small piece of cloth, a strip of leather from a glove, or even a few layers of duct tape will do the trick. This small act of preparation is a hallmark of the field ingenuity mindset.
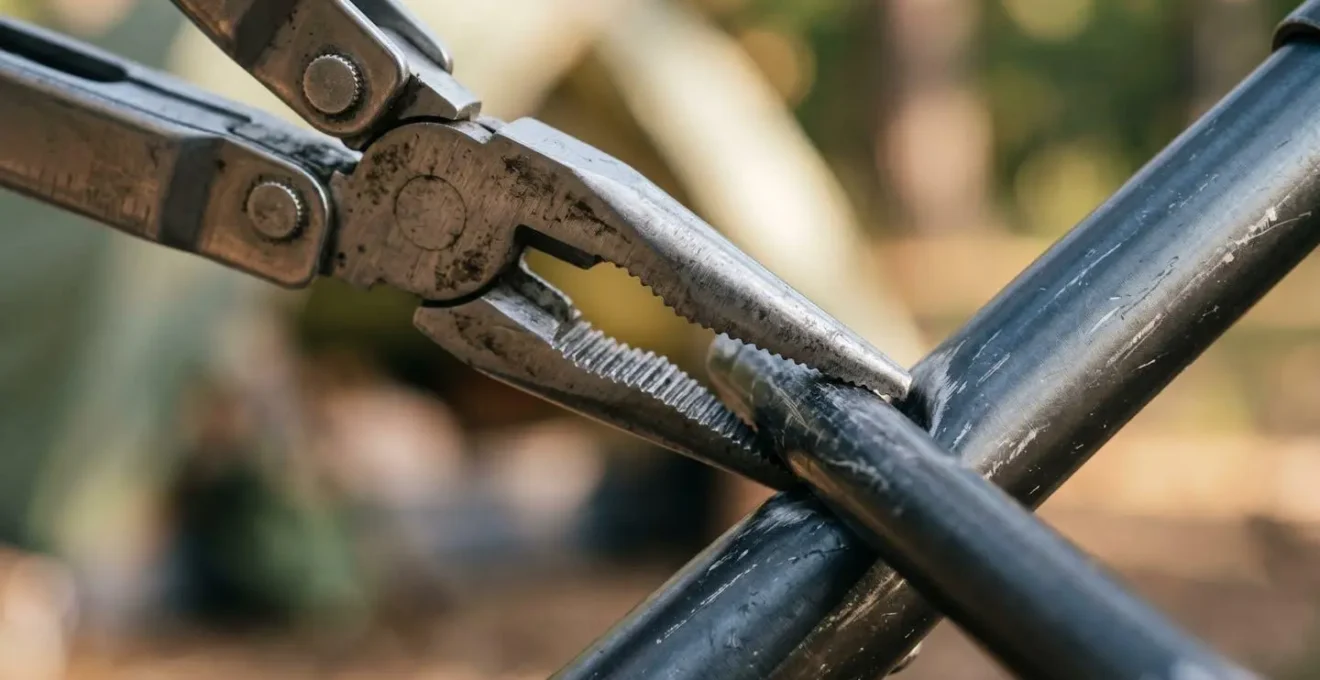
With the jaws padded, you can begin the delicate work. Using just the tips of the pliers for maximum control, you’ll make gentle corrections, working from the outer edges of the bend inward. This method gradually coaxes the metal back into shape without introducing a single, catastrophic stress fracture. It’s slower, but it’s a guaranteed repair, not a fifty-fifty gamble.
Field Repair Plan: Straightening a Bent Pole
- Cushion the Jaws: Wrap plier jaws with cloth, leather, or duct tape to prevent crushing the thin aluminum pole.
- Identify the Bend: Locate the primary bend and start adjustments from the outside edge of the curve, not the center.
- Make Small Adjustments: Apply gentle, controlled pressure with the plier tips, working progressively inward to avoid creating new stress points.
- Test the Fit: After a few adjustments, check if the pole section slides smoothly into the adjacent segment to ensure you’re not over-correcting.
- Final Check: Once straight, run your fingers along the repaired section to feel for any kinks or weak spots that might need further finessing.
The grit mistake that jams your blade locking mechanism
You’ve just finished making feather sticks for a fire. You press the lock release, but the blade refuses to budge. It’s jammed solid. This isn’t a manufacturing defect; it’s a common consequence of using a tool in a gritty, dirty environment. Fine sand, wood dust, and pocket lint are the natural enemies of the precise locking mechanisms found in modern multi-tools. Understanding how this happens is key to preventing and fixing it.
Different locking systems have different vulnerabilities. A liner lock has a small, open channel where a grain of sand can prevent the lock bar from disengaging. A frame lock, while generally stronger, can have its entire mechanism obstructed by debris. Ignoring this small-scale contamination is a critical mistake that can render your most important tool useless at the worst possible time.
The solution isn’t to disassemble the tool, which is often impossible without a specialized wrench. The repair mindset calls for a simpler, more direct approach. As one field test demonstrates, a simple « tap and blow » method can be highly effective.
Field Study: Lock Mechanisms vs. The Elements
During extensive field testing of 22 multi-tools, an analysis of outdoor gear performance found that lock mechanisms are extremely vulnerable to campsite debris. Reviewers discovered that sand, food particles, and lint accumulate differently in various lock types, with frame locks showing a higher risk of completely jamming. The most effective field maintenance technique, short of disassembly, proved to be a combination of using a powerful jet of water to flush the mechanism, followed by firmly tapping the tool against a solid surface to dislodge particles, and then blowing forcefully into the crevices. This routine maintenance was crucial for preserving lock functionality across all tested models.
This simple cleaning ritual—a quick rinse, a sharp tap, a hard puff of air—should become second nature after any messy task. It’s a two-minute investment that ensures your tool’s primary safety feature remains reliable. This is preventative maintenance, MacGyver-style.
Saw vs Scissors: Which tool is actually useful for bushcraft?
The debate between the saw and scissors on a multi-tool often misses the point. Campers tend to think in terms of big tasks, asking, « Can this saw cut a log for the fire? » The answer is usually no, and they dismiss it. But the value of these tools isn’t in replacing their full-sized counterparts; it’s about providing capabilities for tasks that are either too delicate or too wasteful for a large blade. It’s about precision versus power.
A multi-tool saw isn’t for felling trees. Its real purpose is for efficient and controlled bushcraft tasks. Think of cutting a clean, square notch for a pot hanger or a trap trigger. Using your main blade for this kind of work is clumsy and risks damaging the edge. The saw does it perfectly with minimal effort. It’s for crafting, not demolition. It allows you to process small-diameter wood into useful objects with precision.

Scissors, on the other hand, are often written off as a « civilization tool, » and in a way, they are. But their value in a camping or hiking context is immense for high-precision, low-power tasks where a knife is overkill. As one experienced user noted, they are indispensable for small but critical jobs.
Scissors are more of a civilization tool in my use but they’re great when you need them for something. Very handy in Newfoundland last week trimming moleskin… couple seconds of snipping and you’re right back out there hiking the bogs in your rubber boots.
– Bushcraft USA Forums User, Multi-tool Implement Discussion
This simple example is perfect. Trimming a blister patch, cutting fishing line, opening a stubborn food packet, or even giving yourself a field-expedient haircut—these are all jobs where scissors excel and a saw is useless. The choice isn’t saw *or* scissors; the resourceful camper understands that they serve two completely different, and equally important, functions in the ecosystem of a multi-tool.
When to leave the locking blade at home: Knife laws by country
Your multi-tool is the pinnacle of utility, but in the eyes of the law, it can sometimes be viewed as a weapon. The most critical component from a legal standpoint is often the locking blade. A knife that can be opened with one hand and locks in place is subject to a complex and often confusing patchwork of regulations that vary dramatically by state, country, and even city. Being a resourceful camper means being a responsible one, and that starts with knowing the law before you pack.
The concept of « reasonable excuse » is central to many knife laws. Carrying a multi-tool on your belt while hiking a remote trail is almost always considered reasonable. Carrying the exact same tool clipped to your pocket in a downtown urban area could be interpreted very differently. As legal experts often state, context is everything.
Context is King: The ‘Reasonable Excuse’ Principle: A knife used for work, camping, or utility is generally acceptable, but carrying it in public without a legitimate reason can lead to charges.
– BPS Knives Legal Guide, Knife Law and Regulations for Bushcraft Enthusiasts
For international travel, the rules become even more stringent. A locking blade that is perfectly legal in the United States could lead to confiscation or fines in the United Kingdom or Japan. Before traveling, it is your responsibility to research the specific laws of your destination. Sometimes, the most pragmatic choice is to opt for a non-locking multi-tool (like many Swiss Army Knife models) or to pack your tool in your checked luggage rather than your carry-on.
The following table provides a general overview, but you must always verify the current, local regulations for your specific destination, as laws are subject to change. This comparative analysis of knife regulations highlights the wide variance between countries.
| Country/Region | Max Blade Length | Locking Mechanism | One-Hand Opening | Camping Exception |
|---|---|---|---|---|
| United States | Varies by state (typically 3-4 inches) | Legal in most states | Legal in most states | Yes, reasonable use |
| United Kingdom | 3 inches (7.62 cm) | Prohibited for public carry | Prohibited | Must prove ‘good reason’ |
| Canada | No federal limit | Generally legal (non-auto) | Legal (manual folders) | Yes, for utility |
| Germany | 4.7 inches (12 cm) | Restricted unless legitimate purpose | Restricted unless legitimate purpose | Yes, with proof |
| Australia | Varies by state | Requires lawful excuse | Restricted | Yes, camping/fishing acceptable |
| Japan | 2.4 inches (6 cm) | Requires special permission above limit | Regulated | Limited exceptions |
How to fix a tubeless puncture in the middle of nowhere?
The hiss of a leaking air mattress is a sound that spells a miserable night. While often applied to bike tires, the principles of tubeless repair are perfectly suited for inflatables in the backcountry, and your multi-tool has everything you need to perform an adaptive repair. This isn’t about a perfect, factory-finish patch; it’s about stopping the leak and getting a good night’s sleep.
First, diagnosis. Inflate the mattress and listen for the leak, or use soapy water if available. Once you’ve found the culprit—often a thorn or sharp rock—the multi-tool comes into play. The needle-nose pliers are perfect for extracting the object without widening the hole. Don’t just yank it out; grip it firmly and pull straight to minimize tearing.
Next, preparation is key for any adhesive to work. A dedicated patch kit comes with a small piece of sandpaper, but your multi-tool’s file is far superior. Use it to gently abrade the surface around the puncture, creating a rough texture for the patch to grip. Then, apply your patch. If you don’t have one, this is where true ingenuity shines. In an emergency, you can use the knife or awl to shape a piece of rubber—from a spare bike tube or even the sole of an old flip-flop—into a temporary plug. Use the flathead screwdriver as a miniature press to apply firm, even pressure as the adhesive bonds. For a truly desperate, get-you-home fix, the pliers can be used to clamp an improvised patch held in place with duct tape.
This repair sequence showcases the multi-tool’s versatility:
- Extraction: Use needle-nose pliers to carefully remove embedded thorns or sharp debris.
- Preparation: Deploy the file tool to roughen the puncture area for optimal patch adhesion.
- Application: Utilize a flathead screwdriver as a lever to apply even, consistent pressure when bonding the patch.
- Improvisation: In a no-patch scenario, employ the awl or knife to shape spare rubber into a temporary plug.
How to repair a valve leak in the field?
Sometimes the leak isn’t in the body of your air mattress but at its most critical junction: the valve. A leaky valve core or a dirty valve housing can deflate your bed just as fast as a puncture. Many campers would give up and declare the mattress dead, but a resourceful multi-tool user sees a solvable puzzle. This is a diagnostic challenge where different parts of your tool become specialized instruments.
The problem is often simple grit or corrosion preventing a perfect seal. The challenge is accessing and cleaning the delicate valve components without causing damage. This is where the « unintended functions » of your multi-tool become your greatest asset. You don’t need a dedicated valve tool; you need creativity. A dirty valve thread can be gently cleaned with the tip of a small screwdriver or awl, removing the debris that’s breaking the seal.
One of the most creative field repairs involves using a tool that seems completely unrelated, as demonstrated in a documented case of field ingenuity.
Case Study: The Can Opener Valve Repair
In an excellent example of the repair mindset, an experienced camper documented a trip-saving field repair on a leaking air mattress valve. The valve stem was inaccessible, but by using the small hook on the multi-tool’s can opener, they were able to carefully pull the stem up for inspection. The file was then used to gently clean corrosion from the valve housing without scratching the plastic. Finally, the needle-nose pliers were employed with a « finger-tight plus a nudge » technique to perfectly tighten the valve core, stopping the leak. The camper noted this was just one of many instances where the multi-tool’s versatility, from fixing fishing poles to tightening pan handles, was essential.
This is the repair mindset in its purest form: looking at a can opener and seeing a valve-pulling hook. It’s about seeing your multi-tool not as a set of 15 pre-defined tools, but as a collection of shapes, edges, and levers that can be adapted to solve the problem in front of you. This is a skill no toolbox can teach.
Key Takeaways
- Field-Serviceable is Better Than High-Spec: A tool you can maintain with simple equipment is more valuable than a « perfect » tool you can’t.
- Limitations Force Creativity: The multi-tool’s constraints are not a weakness; they are a catalyst for developing your problem-solving skills.
- Adopt an Adaptive Repair Mindset: The goal in the field is a functional fix, not workshop perfection. Use what you have to get the job done.
First-Time Campers: The 10 Items You Actually Need (And What to Leave)?
For the first-time camper, packing lists can be overwhelming. They are often filled with « nice-to-have » gadgets and redundant gear. But if you talk to seasoned experts and even survivalists, the list of truly essential items is surprisingly short. At the top of that list, you will almost always find a multi-tool. Its inclusion isn’t just about convenience; it’s about consolidating maximum utility into minimum weight and space. In fact, an analysis of the gear choices of winners on the survival reality show ‘Alone’ found that a staggering 77% chose to bring a multi-tool as one of their only 10 permitted items.
This choice by extreme experts underscores a fundamental truth: a multi-tool isn’t a toy. It’s a force multiplier. Why carry a separate knife, pliers, screwdrivers, can opener, and saw when a single, 8-ounce tool can perform 90% of the tasks you’ll realistically encounter? The argument against is always about compromised performance, but this is a false economy when you factor in weight and pack volume.
The data clearly shows that the weight and space saved by adopting the one-tool rule is dramatic. For the functionality it provides, its efficiency is unmatched.
As this weight savings comparison from gear experts clearly demonstrates, the trade-off is heavily in the multi-tool’s favor for any practical camper.
| Configuration | Total Weight | Pack Volume | Functionality Score |
|---|---|---|---|
| Multi-Tool Only (15 functions) | 5-8.5 oz (140-240g) | Pocket-sized | 85-95% of needs |
| Separate Tools: Knife + Pliers + Screwdrivers + Can opener + Bottle opener + Scissors + Saw | 18-24 oz (510-680g) | Requires dedicated pouch/space | 100% specialized performance |
| Hybrid: Multi-tool + Fixed blade knife | 10-14 oz (280-400g) | Belt + pocket carry | 95-100% versatility |
For a first-time camper, the lesson is clear. Start with the essentials: a quality shelter, a good sleeping system, a way to make fire, and a reliable multi-tool. It will handle everything from food prep and gear repair to first aid, all while teaching you the most important lesson of the outdoors: resourcefulness.
So, the next time you pack, leave the clanking toolbox at home. Grab your multi-tool, and trust not in the dozen specialized instruments you left behind, but in the ingenuity you’ll build by relying on just one.